Tutorial: Net Piecing with the Northview Quilt

You all know I am a huge fan of chain piecing! Life if busy and quilting takes time so I am always looking for ways to save some of it — that way I can squeeze in as many quilty projects as possible!!
Net piecing - or sometimes called web piecing - is chain piecing’s big sister…or perhaps think of it as chain piecing on steroids. It is chain piecing over and over - without cutting the threads - until you have a block, panel, or even quilt top finished.
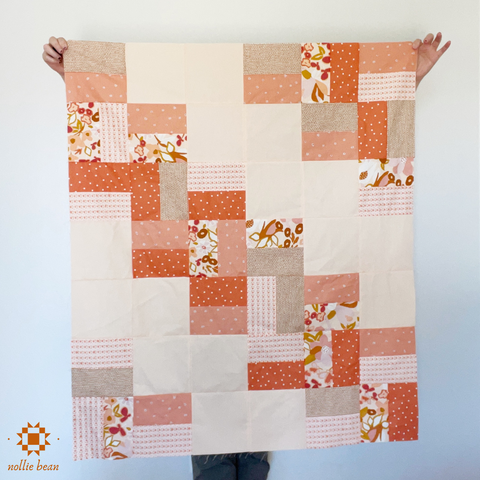
I’m currently making a baby sized Northview quilt and will be net piecing the entire top!
You can pick up your free copy of the Northview quilt pattern here!

When to Net Piece
So, when to net piece (and when not to). Ultimately, this comes down to a matter of preference. However, for me, I like to use this method when sewing something that is large and the pieces are roughly all the same size.
You can use this method for quilt blocks or an entire quilt - as in my case here.
I’m sewing up a baby sized Northview Quilt which consists of six total columns of seven blocks each. You could sew the blocks together row-by-row and then sew your rows together. And if you’re newer to sewing and quilting you will likely begin there.

However, net piecing, is essentially doing that by chain piecing all of the first two blocks together in each row. And then, WITHOUT CUTTING the threads, adding on the third block and then the fourth block and so on until you have one large net (or web).
Then, you sew all of your rows together and viola!
TIP: If you are working on a Throw sized Northview, this is still a great method to get that top finished fast. When I made mine, I used this method, but divided the quilt into four quadrants, net pieced the quadrants, and then sewed them together.

Getting Organized & Sewing
Okay, you’re ready to dive in and start sewing. Do you have your quilt (or panel or block) laid out in the layout you would like to sew it in?
Great! Now, starting with the first column, carefully stack all of your pieces into a pile with the first row on top, paying attention to any block orientation.
Now, line up your column piles on near your sewing machine in the exact same order and orientation. Using the first two piles, sew your blocks right sides together, chain piecing all of the units together. Resist the urge to cut your threads when finished!!
Then, open up the units you just sewed together, grab your next pile (third column) and begin sewing these units to the end of the second column. Then, continue repeating these steps until you have sewn all of your columns together and you have one large net.
Pressing
You’ve taken a step back and admired your net. You’ve double checked the orientation of all of your units, you’re feeling good and you’re ready to move on. So, do you press the seams you have just sewn or keep on sewing? I believe that comes down to a matter of preference and what you are working on.
If I’m using this method for a block or small panel, I tend to skip pressing at this point and move on to sewing my panel together.
However, if I’m working on a large panel or an entire quilt top as in my case here, I will usually press my seams to make the next step a little easier to make sure I’m lining up my seams. Off to the ironing board I go!

Finishing
Whether you decided to press or not, let’s finish up our panels :). We are now going to pin and sew all of our columns together one-by-one. Carefully pin the units of your first column together using the seams as a reference and sew together. Then, repeat this step until all of your columns are sewn together.
Can you believe it? Easy peasy and your panel, block, or in my case, quilt top is finished! And think of all the time and thread you just saved! I think this calls for a snack break!
Actually, before we get too carried away with snacks, let’s finish pressing. Make sure you press all of your seams - and double check those you pressed previously if you did so. Okay, now its time for your celebratory snack. :) I think I hid some chocolate covered marshmallows in the back of the pantry and I am off to find out!
And, if you're looking for more detailed instructions, check out my class on Skillshare.


I have done this (but didn’t know it had the name “net quilting”) and found that it made for a tidier project – far less thread tails on the back. It can be a little tricky maneuvering the “net” under the machine, but it is quick and efficient.
I’ve never net pieced a quilt top before, but surely will try one.